Followers

Monday 30 June 2014

Tim Holtz 12tags of 2014 - June


I had some much fun doing the CC3 challenges , I was searching for more & found Tim's own
12 tags challenge . this is the link:-

    http://timholtz.com/12-tags-of-2014-june/

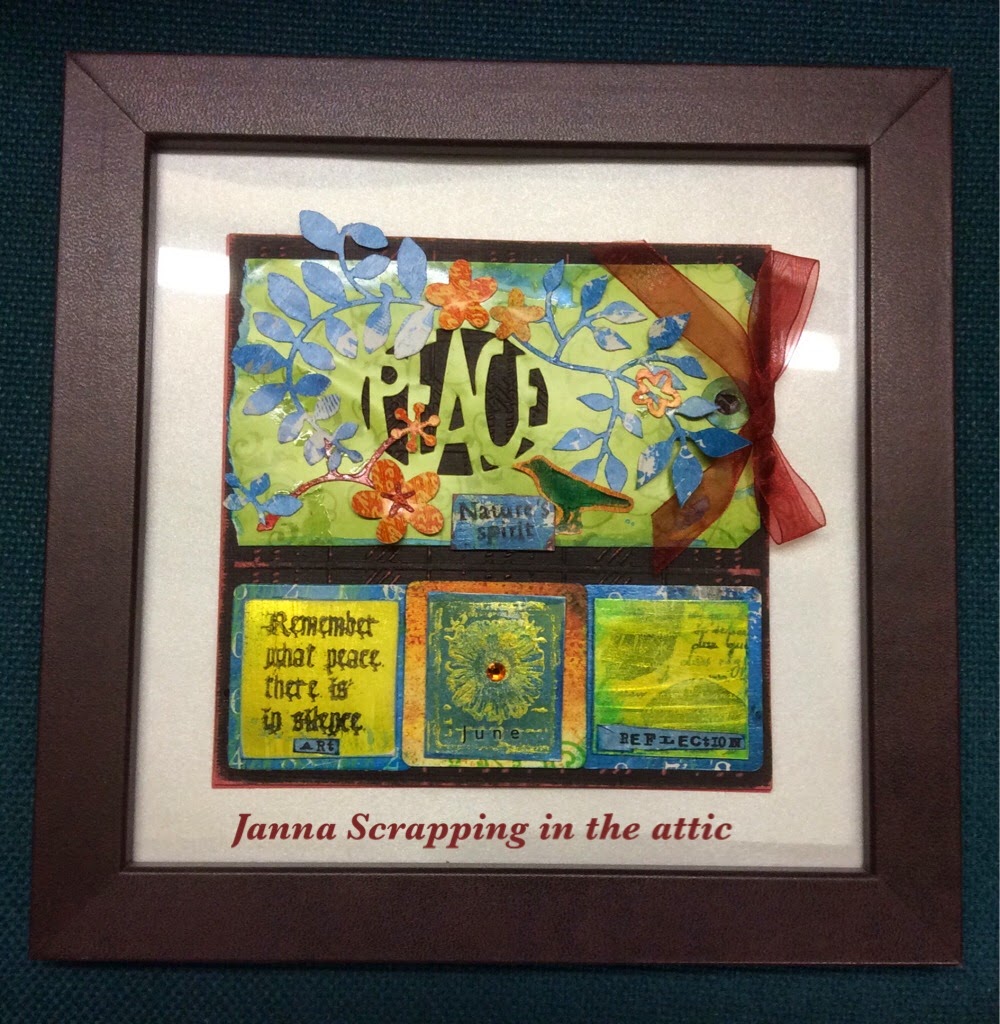
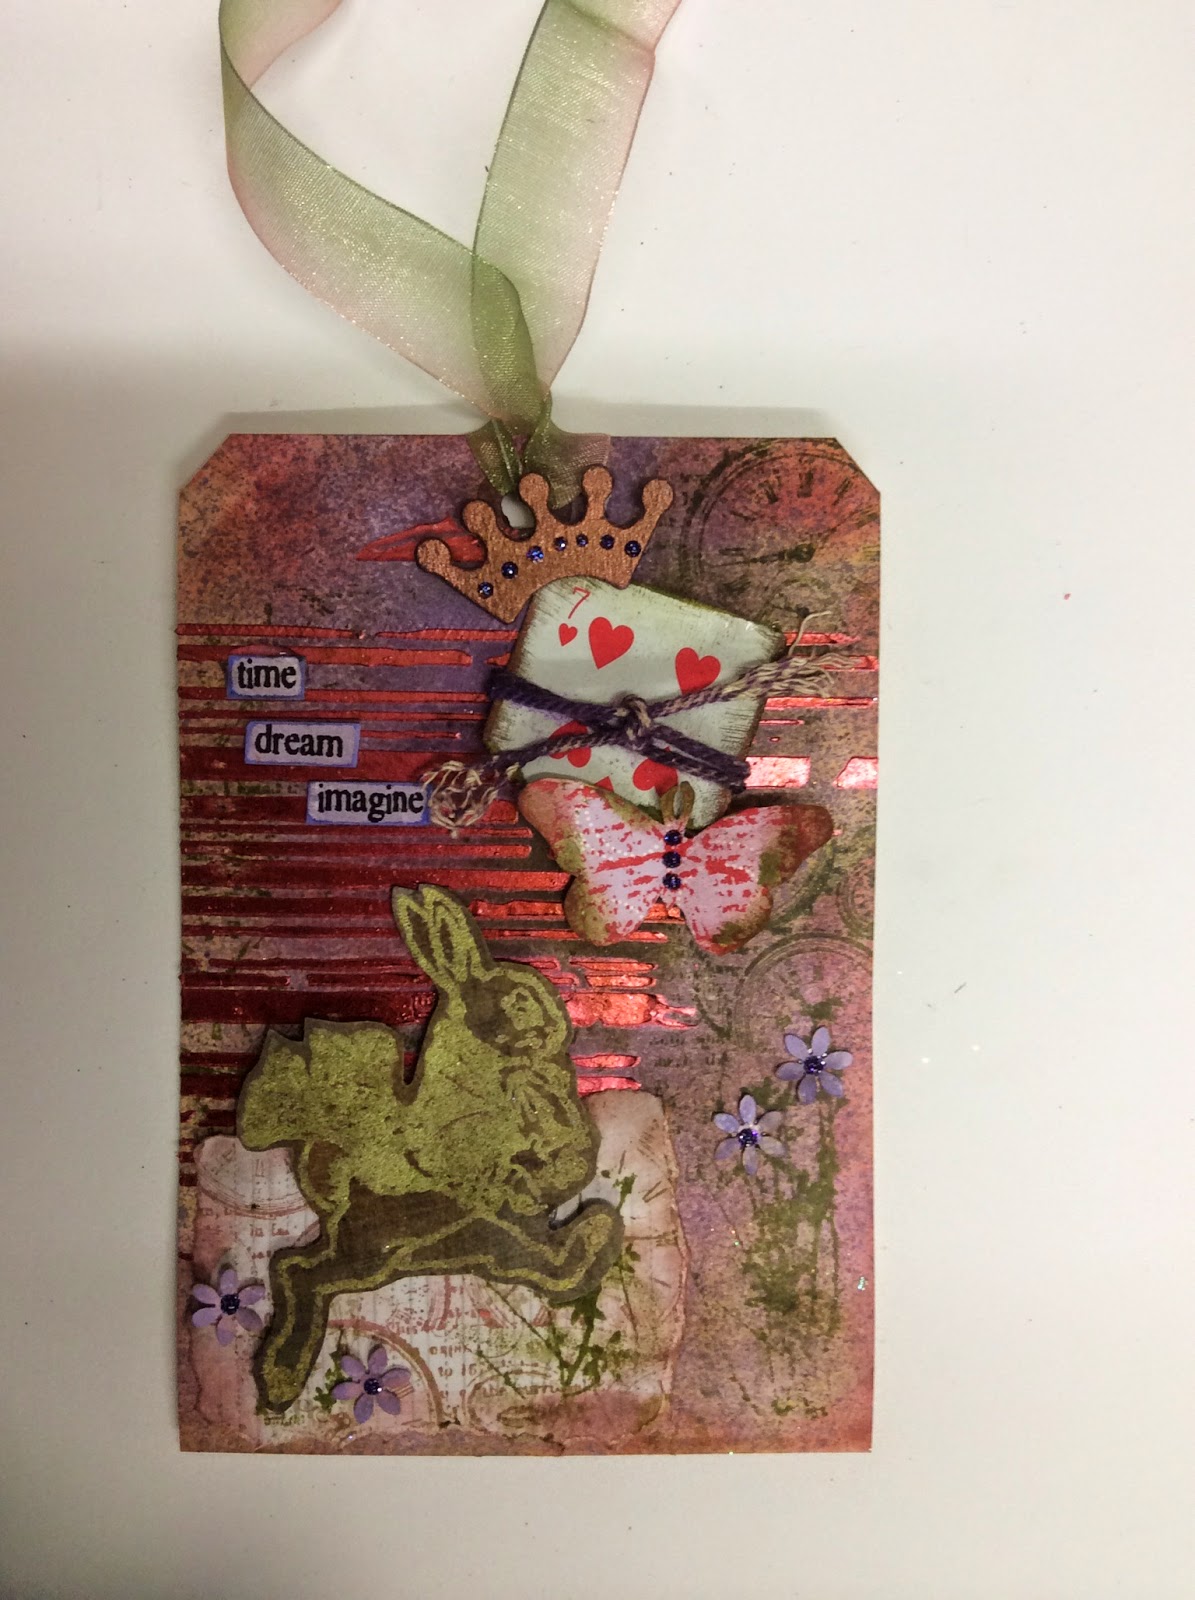
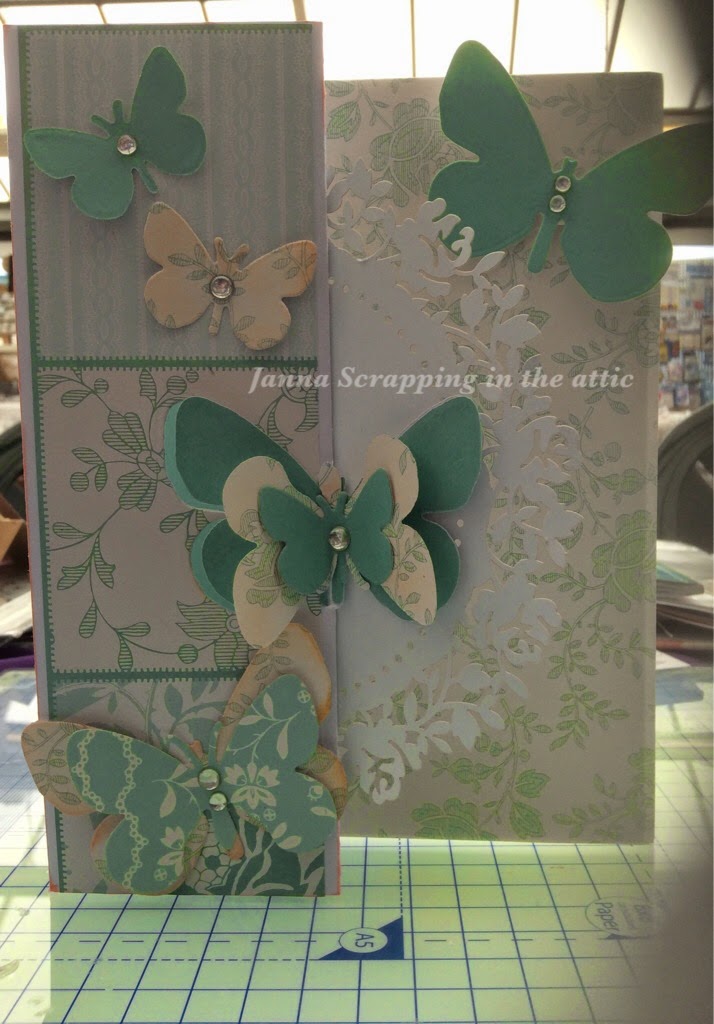
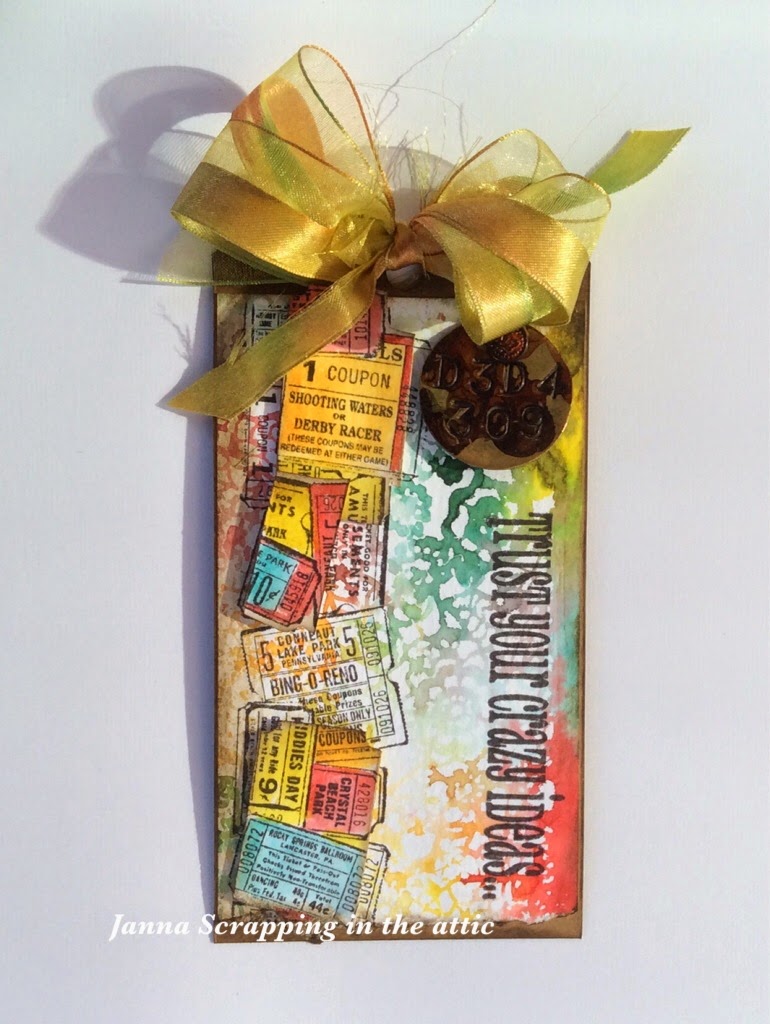
This is my entry and I really enjoyed making it, he has a step by step for each month.

I used a doily mask and distress inks on the reverse side , spray with water and then place down on your watercolour paper  as Tim's project idea,.
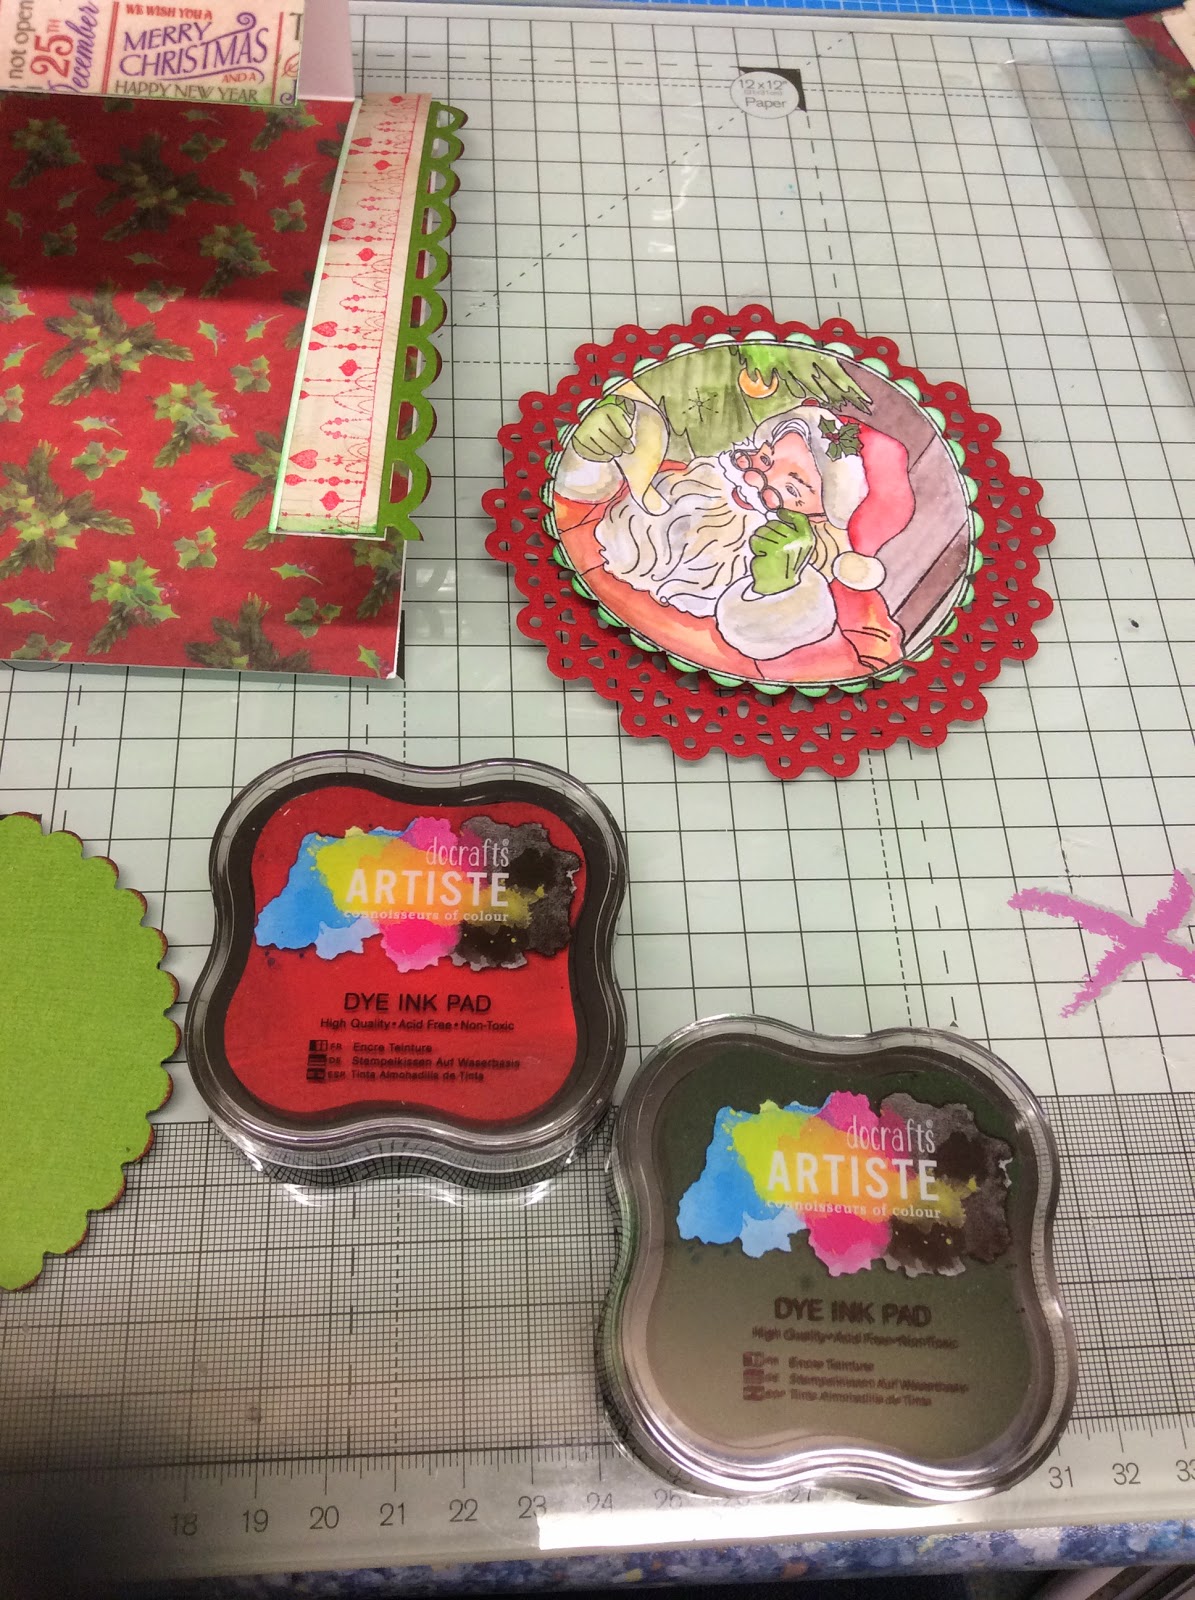
When you dry it with heat gun the colours really pop ! I used my tickets stamp and water coloured  the few 3d ones with distress inks  and they were popped on top of the stamped tickets.
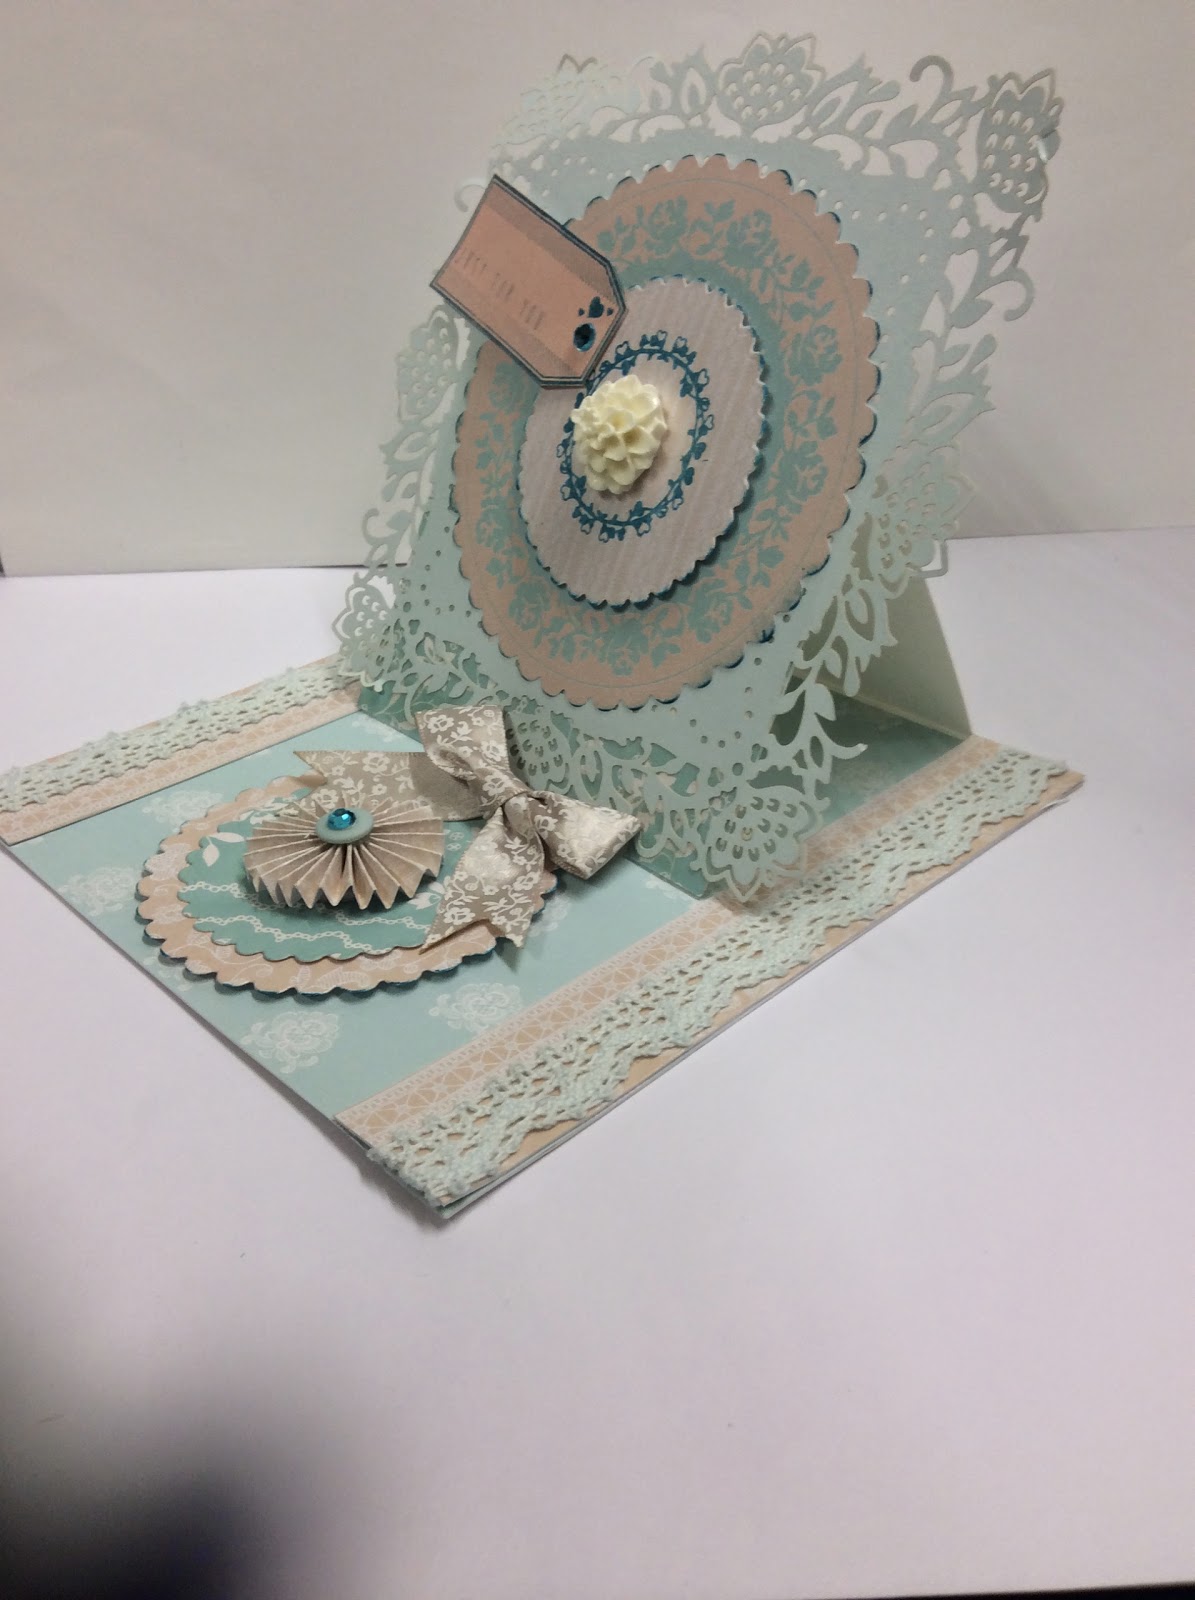
I used a metal tag I had in my stash ( distressed with alcohol inks ) for decoration on top left.
Trust your crazy ideas , stamped with stazon timber brown (as was the tickets)
The bow is also part of Tim's tutorial . Dab your distress ink pads on to a glass mat or heat proof sheet, dunk your ribbon in - a bit randomly & then dry with heat gun.
It makes a great fancy bow on the top. Look up Tim's tutorial for  Junr tags of 2014 to see how the bow is made and tied.
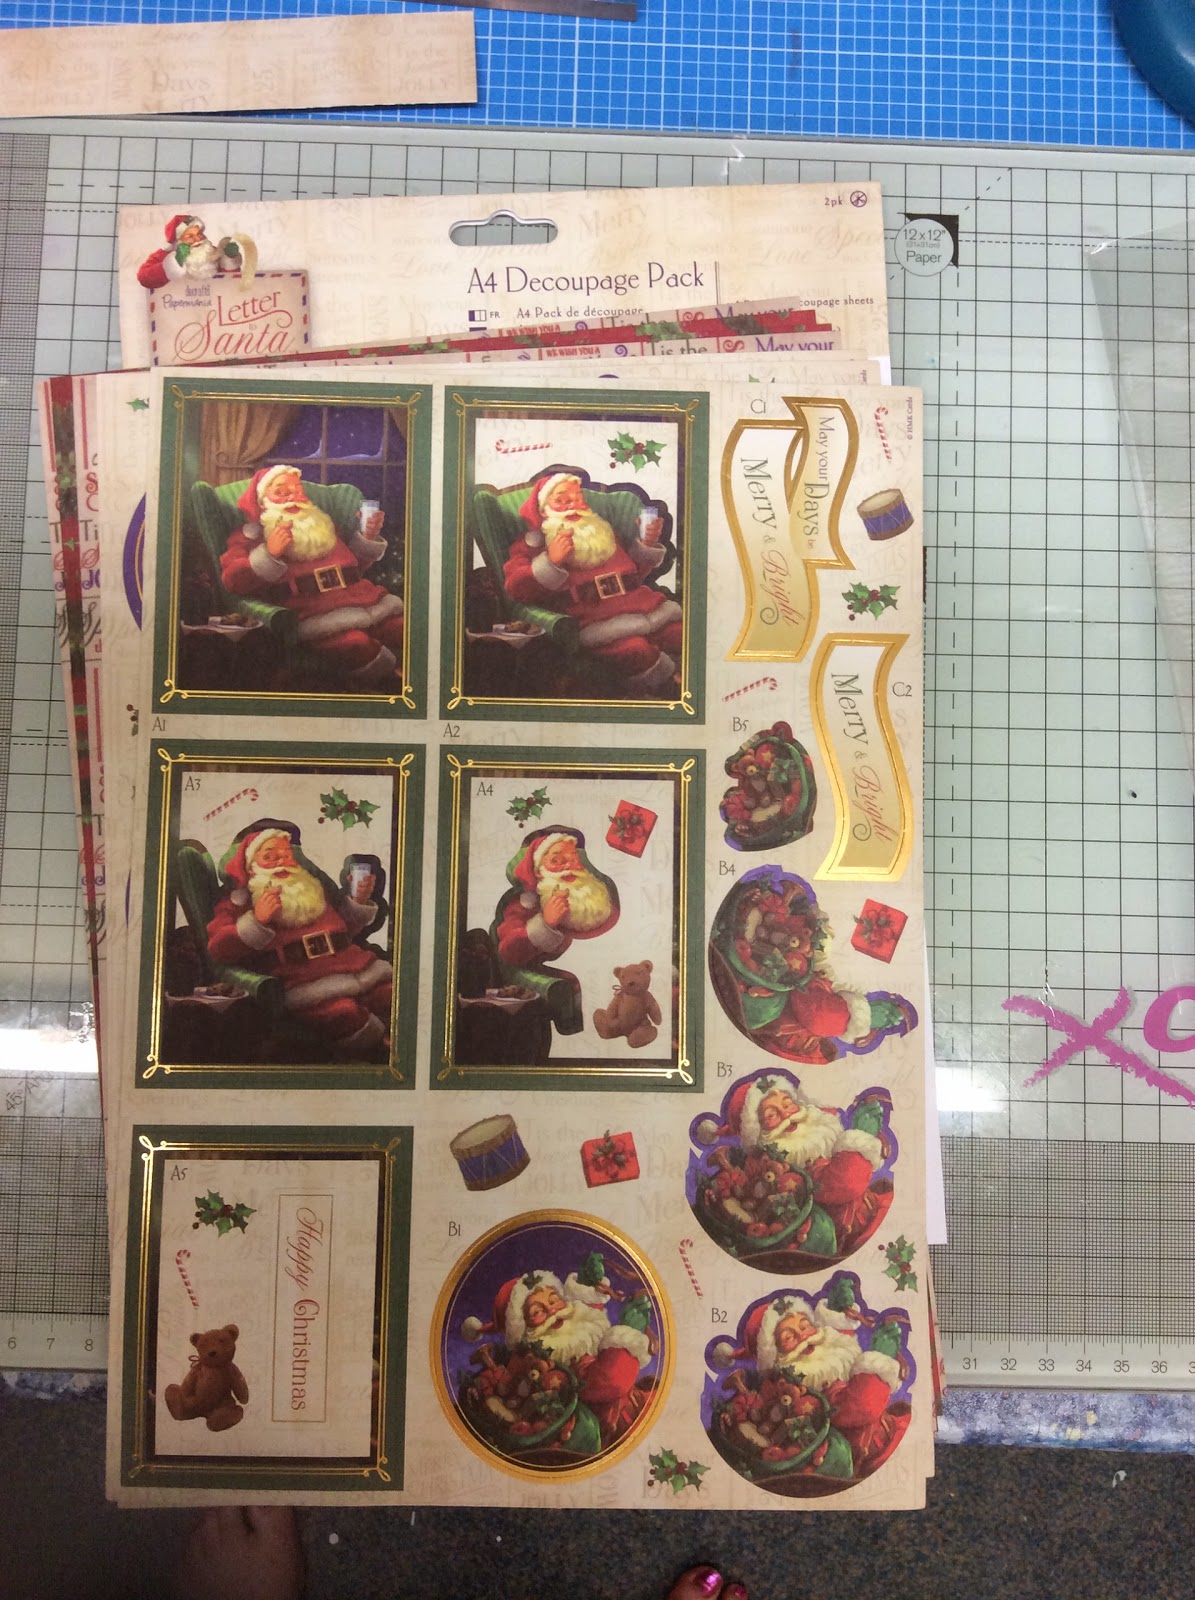
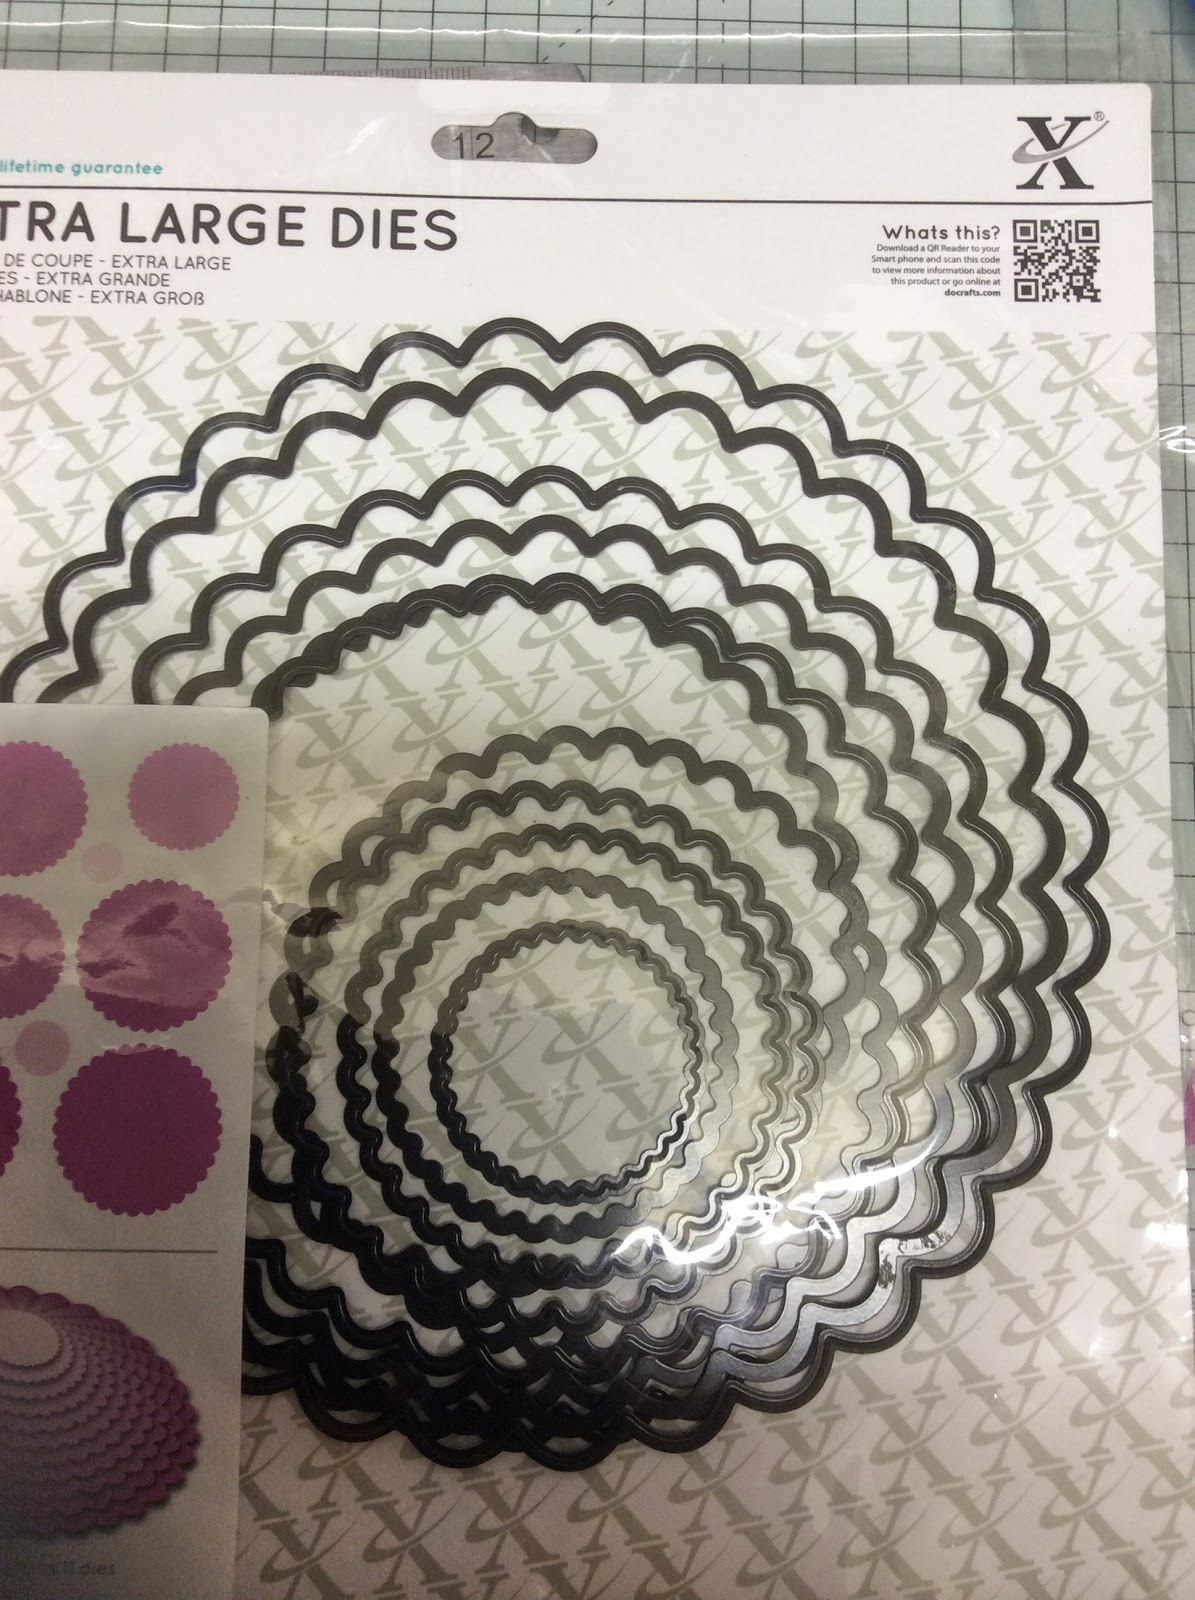
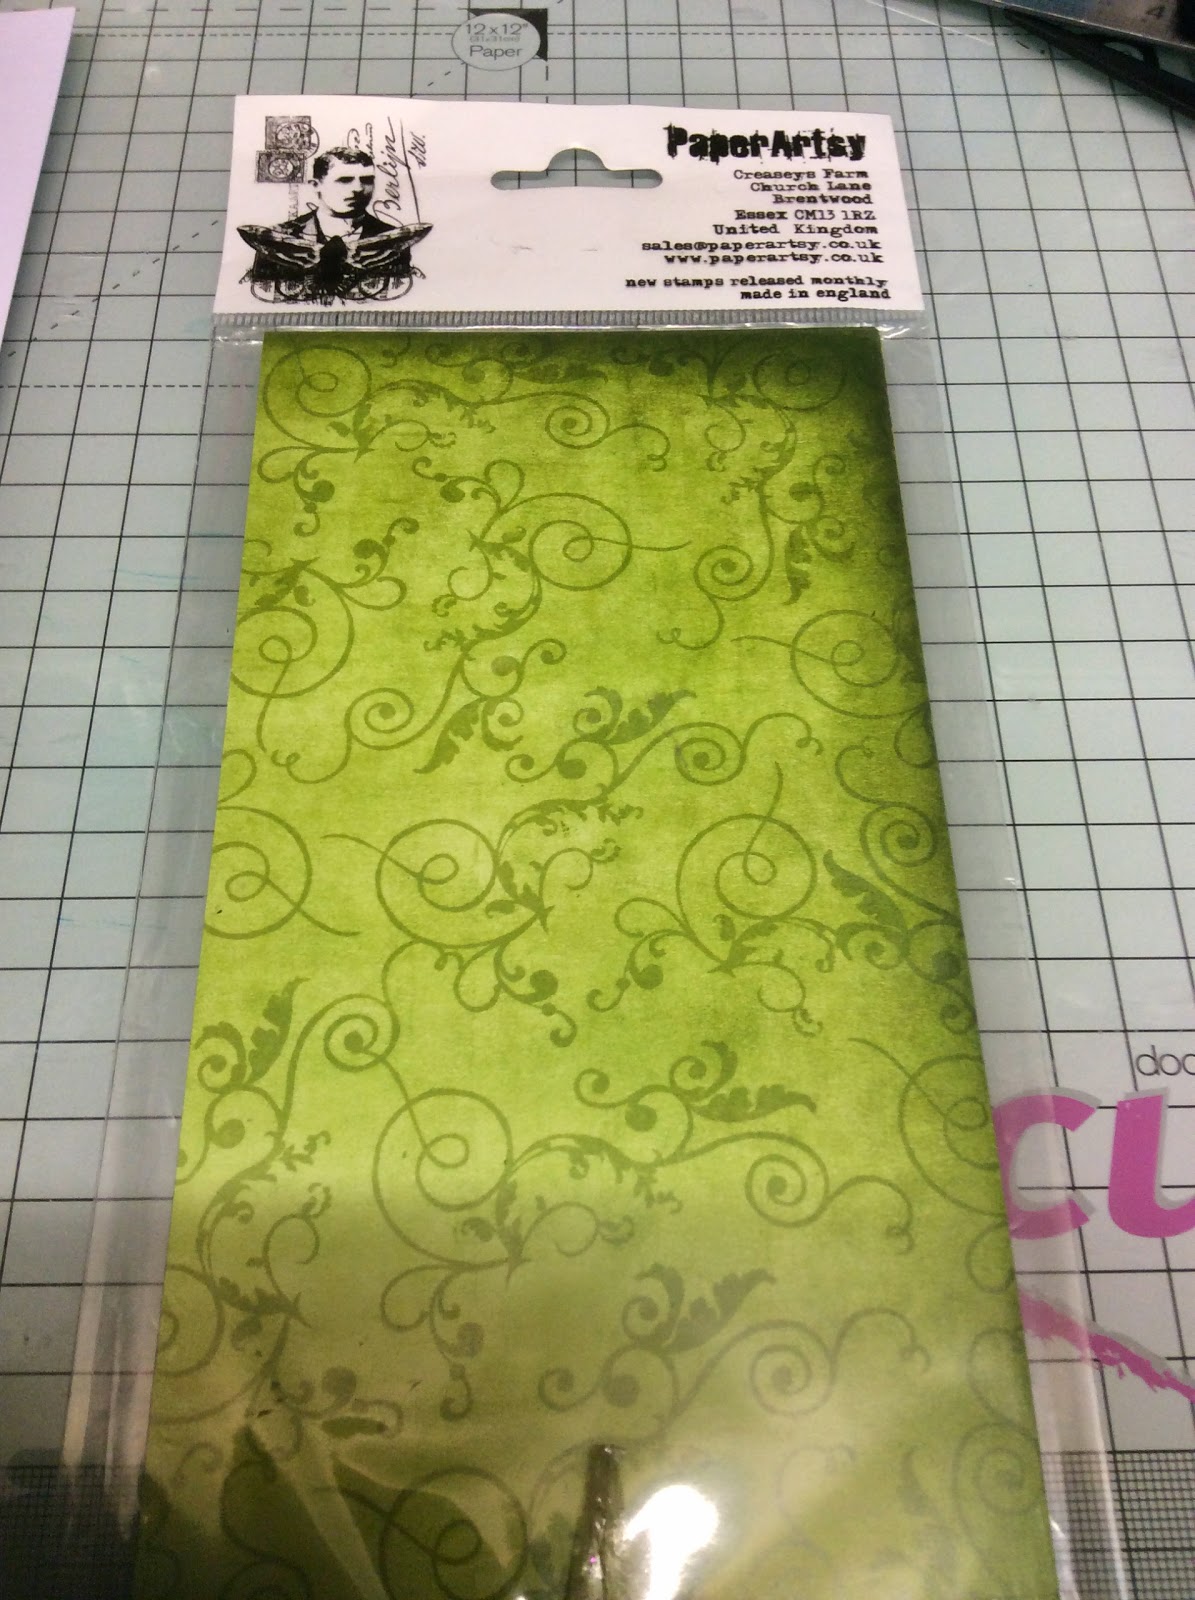
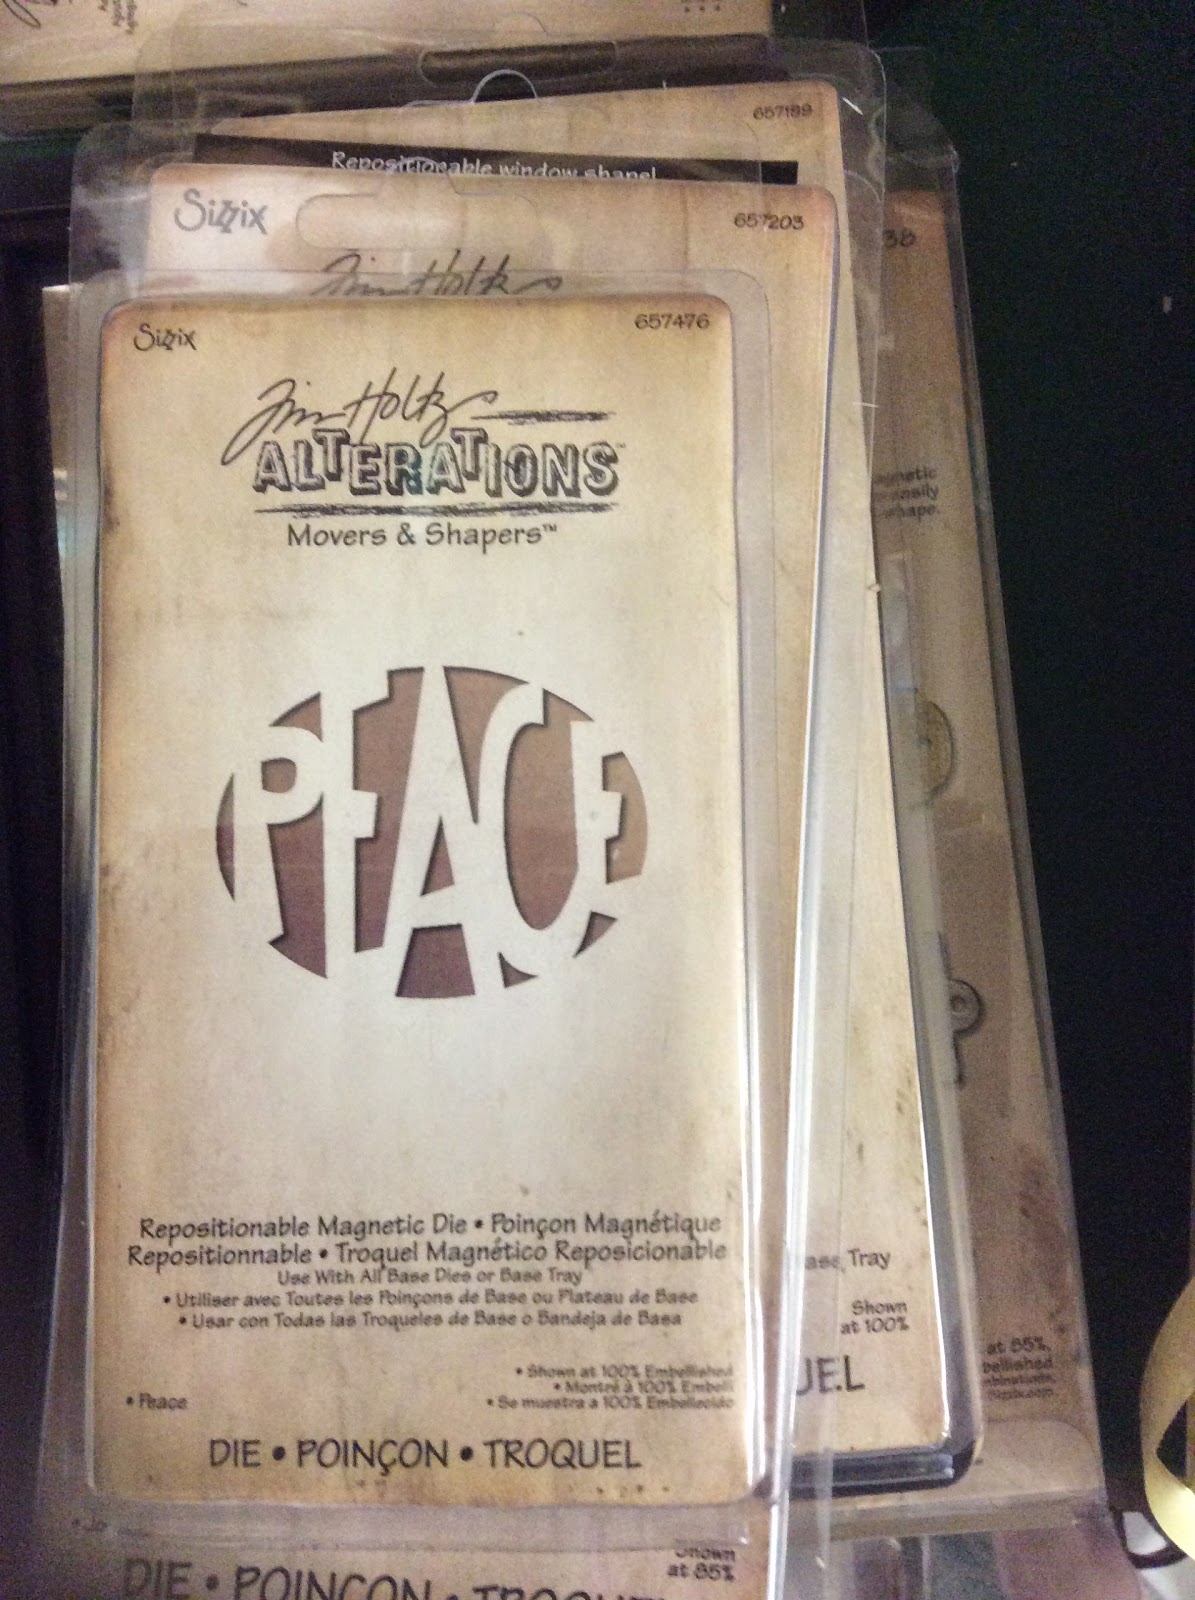
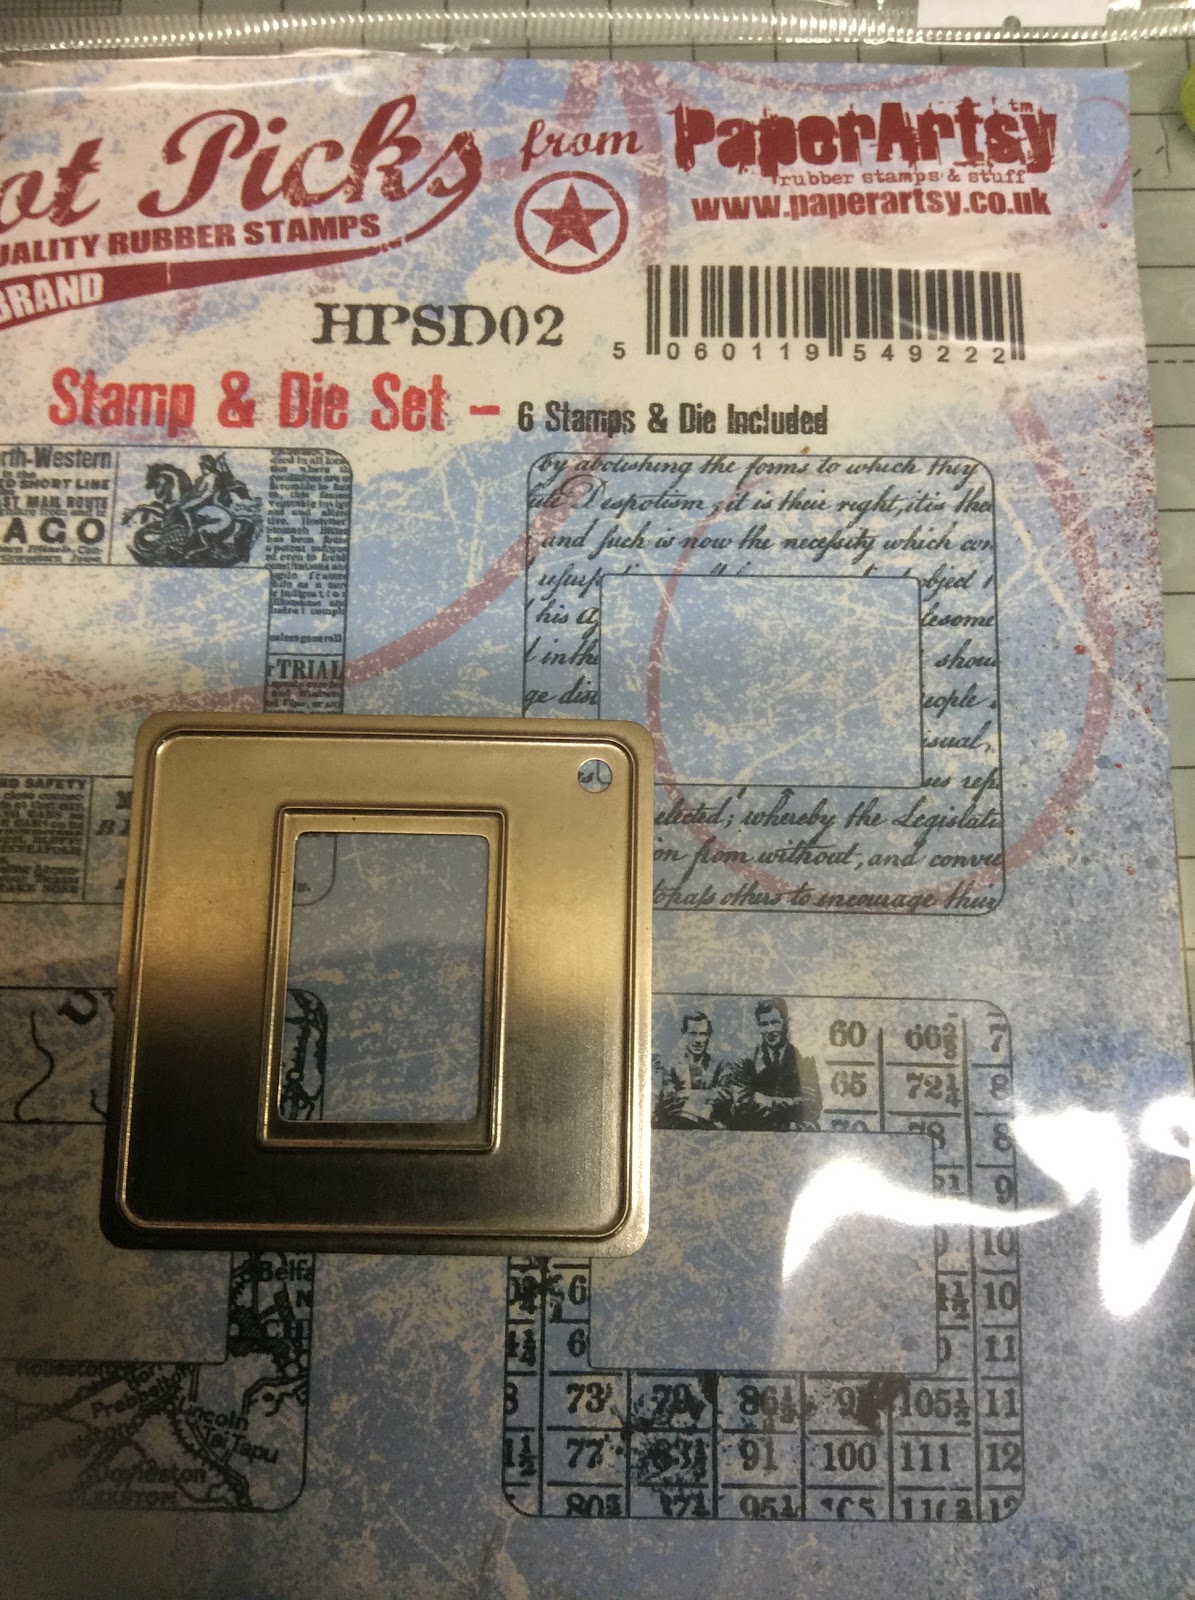
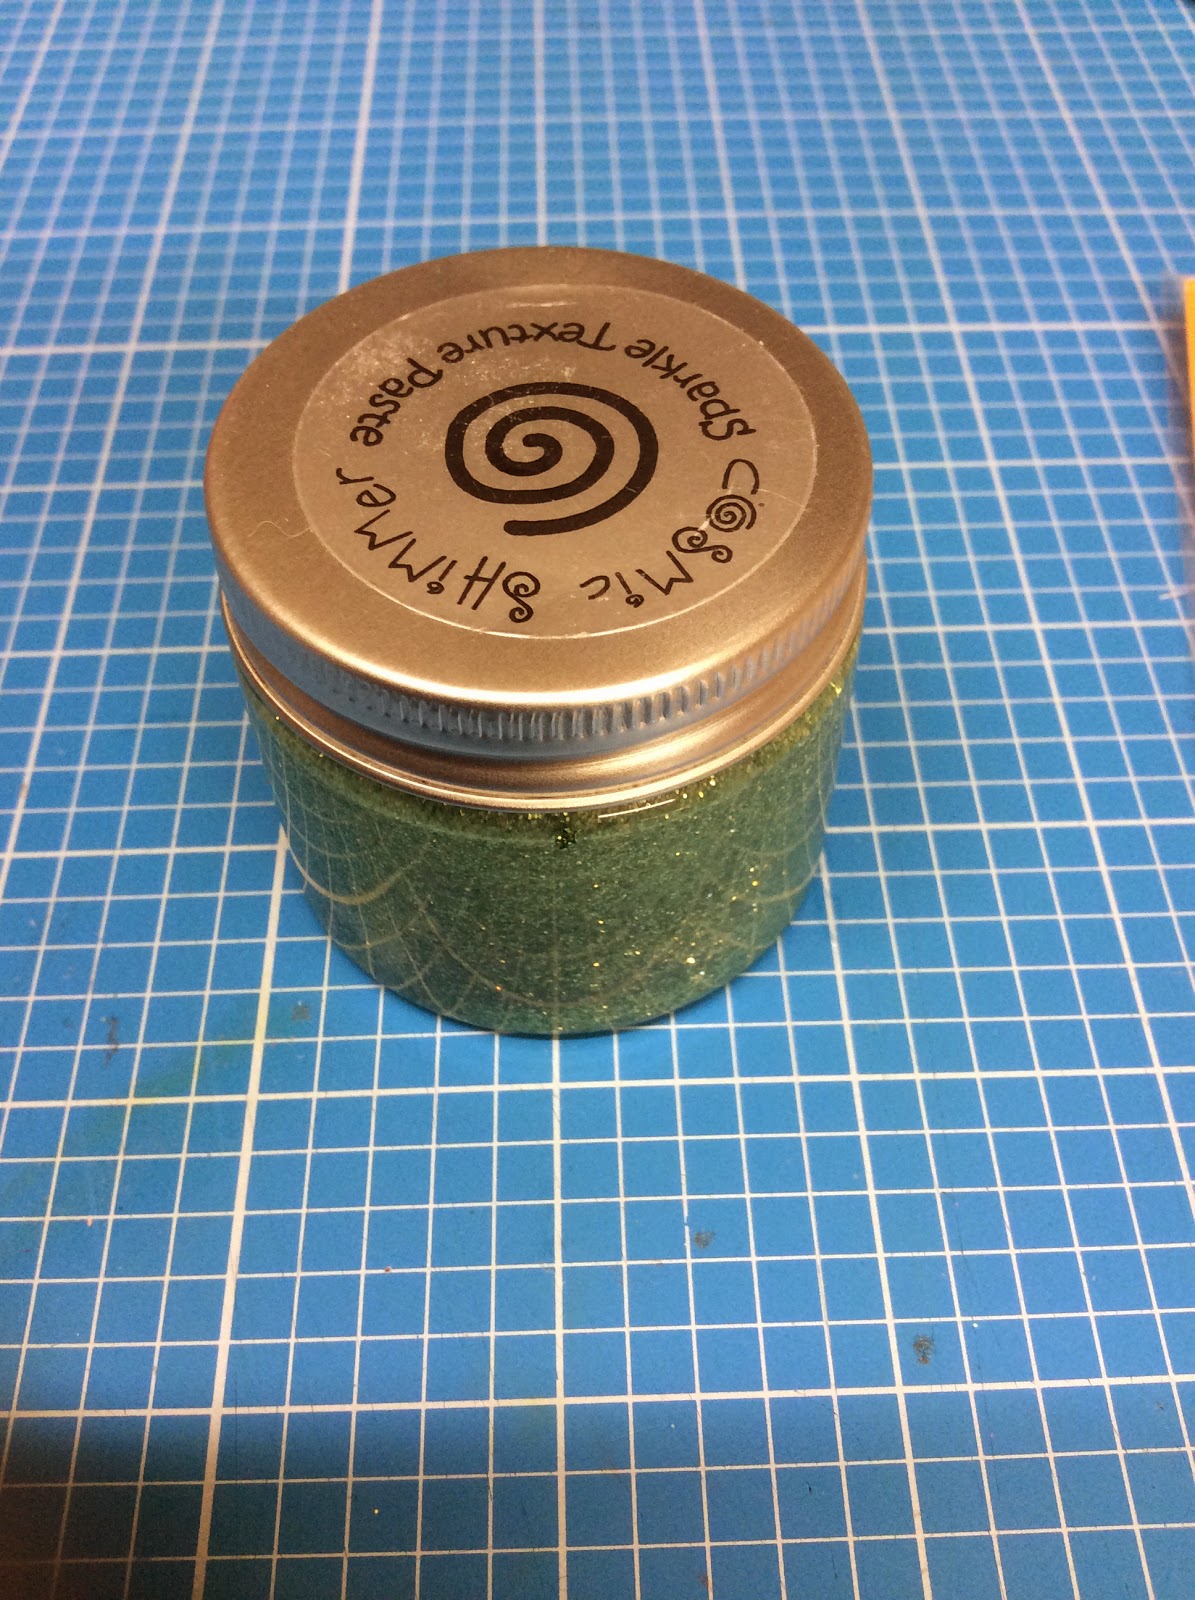
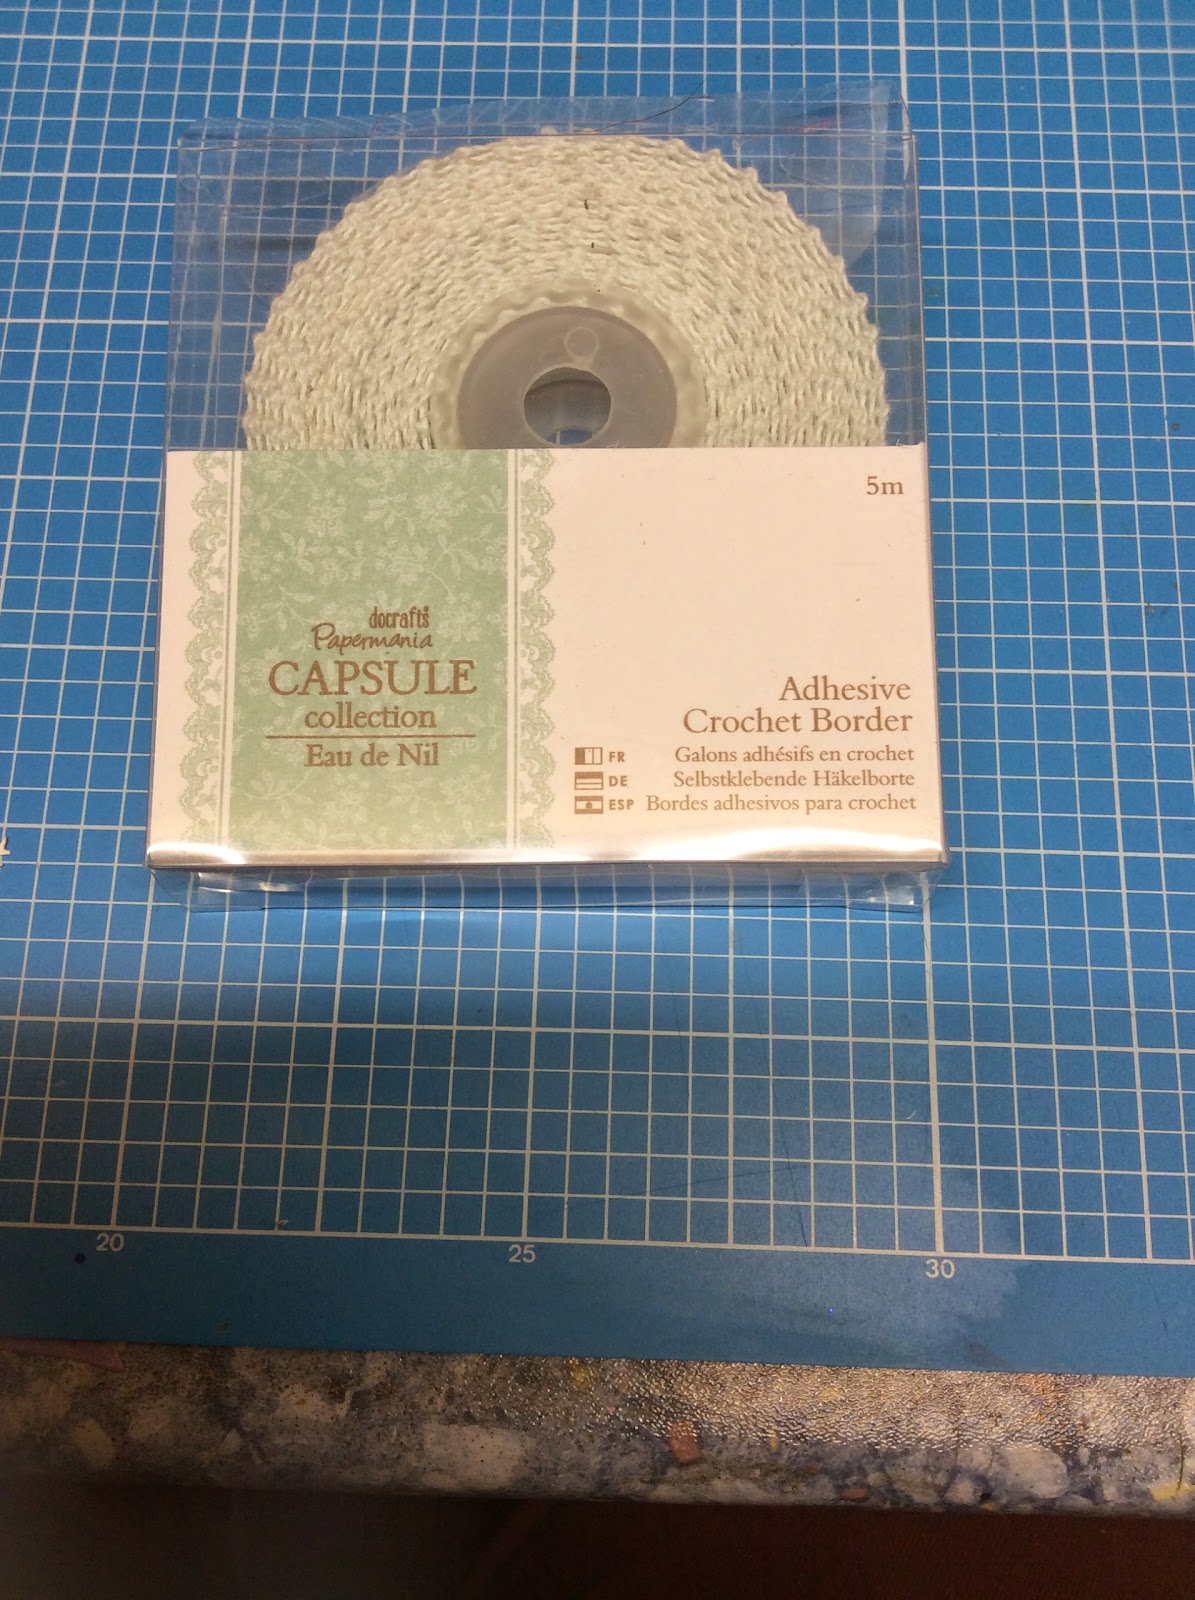
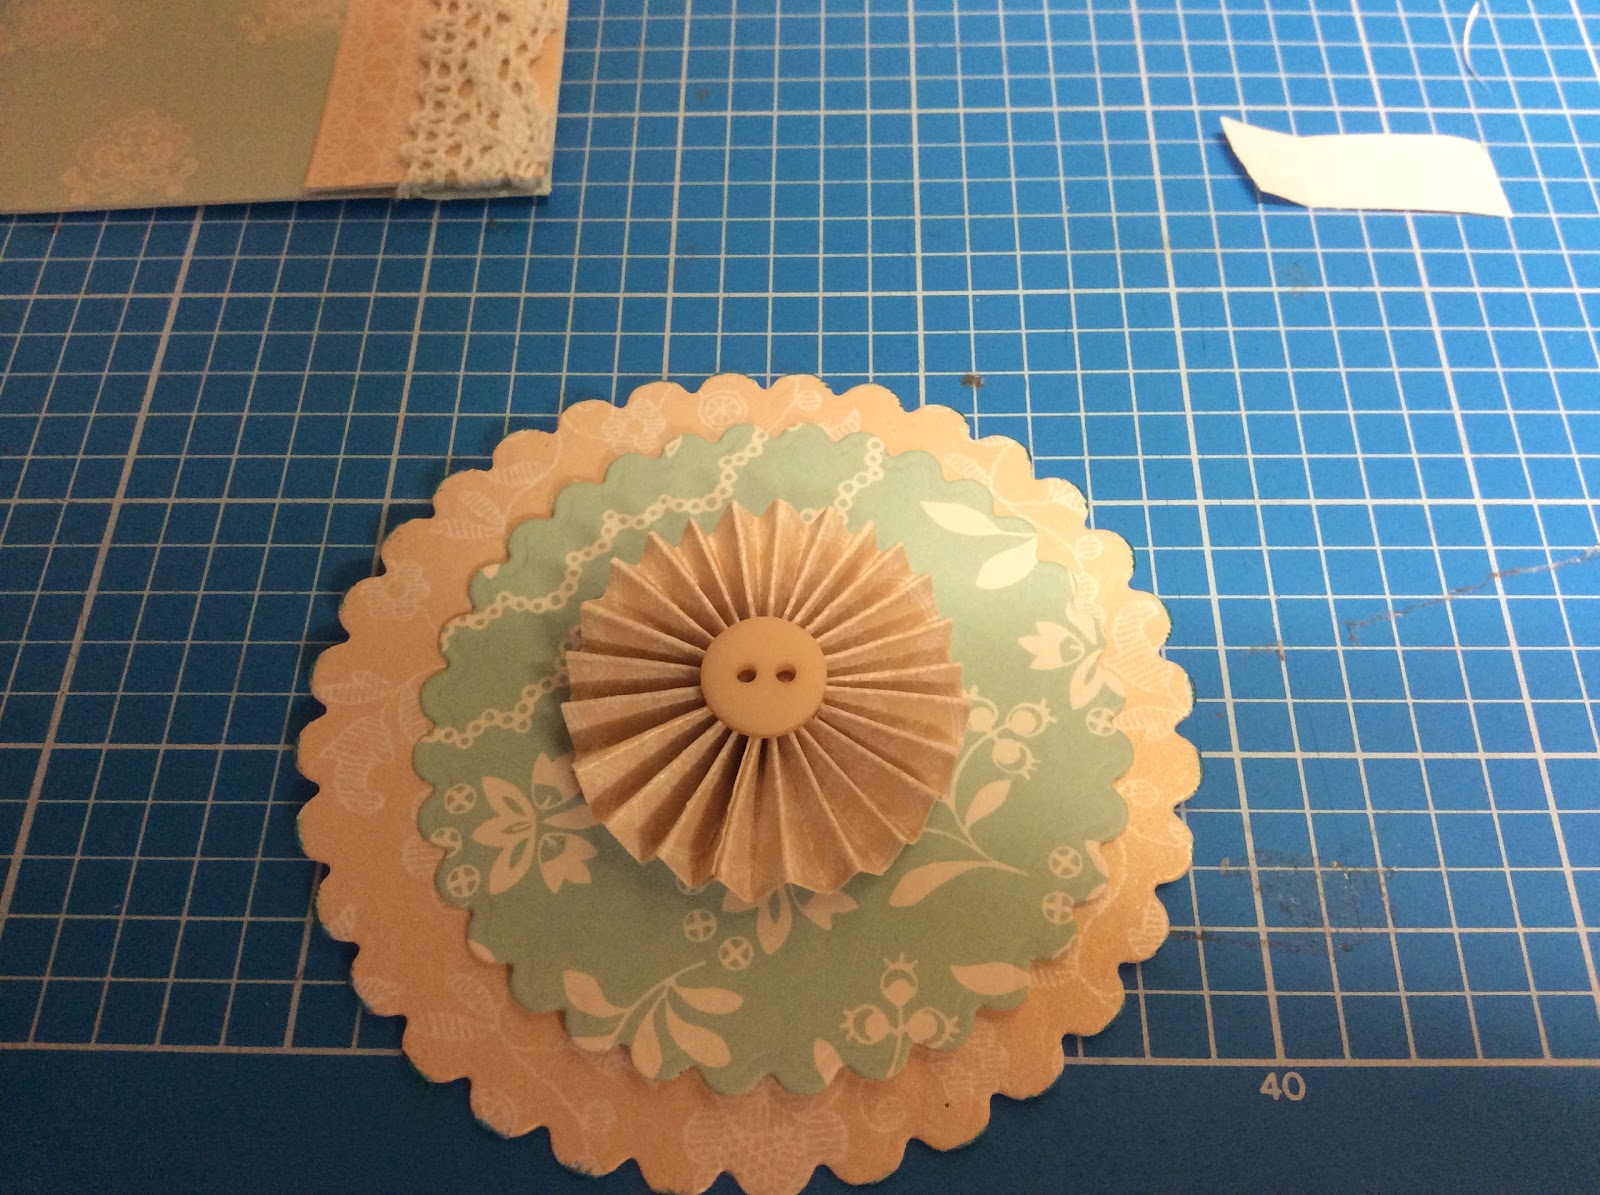
 Below is a snap of all items I used (except Sellotape in back ground !!)


Saturday 28 June 2014

My first Christmas card made for 2014 - letter for Santa

Well it's half way through the year , so of course all the new Christmas crafting goodies are coming out for us to get going and start early 

I am kind of into this easel shape at the moment in case 
you haven't noticed !
This card is made with a white 6" square card blank
Place it tent style and cut down from fold 
2cm each side as shown below
The centre piece is folded to make the Easel
(Sorry I am mixing my metric with imperial but 
I am a confused child of the 60's !!!!)


I have used a decoupage set for the backing paper 
See pack below, it's called a letter for Santa -papermania


I trimmed out a piece of the beige from the 
Bottom of the pack as seen below


I am going to use this cut lengthways for the side
Strips, first stamping them , stamps in next photo.

If you place the stamp on the edge of your acrylic block then you can line up
The edge of the block with the edge of the card strip, 
Makes it easy to line up a continuous strip of stamping.


I used red and green inks for this project 
Santa was stamped in black die ink though as
I wanted to water colour him
I used red card stock and a Doiley  die to go behind Santa


Using green card stock I die cut a border from xpress border
Set to go under my stamped strip fixed as shown
 & I used the extra large circle dies in photo to mat and layer
The stamped 'stopper' for the easel


This is the stamp I used for the centre of the 'stopper'
& the border strip

 I finished with a sentiment taken from the decoupage pack 
& decorated with little adhesive stones


Thursday 26 June 2014

The crafting cafe challenge - love, weddings

I had a quick card to make for a wedding , so I am entering it to the challenge for June.
The sponsor is Bugaboo stamps , see the challenge at Crafting cafe blog.

http://thecraftingcafe.blogspot.co.uk/2014/06/june-challenge-love-and-marriage.html


Sunday stamper - Peace

Having spent most of the week in the garden, when I saw the Sunday stamper challenge from Hels Sheridan was 'Green'
I was thinking of the peace in the garden .

So this is my entry


It's not a tag , I might add it to a card or a scrapbook page, might even be nice in a frame.
Anyway. It was fun to do:-)
I dug out a lot of stuff I have has for ages!
The background is embossed black magic colorcore card stock, the folder
Is a new one called tartan from DoCrafts & so I distressed the card stock to show the red core


I cut the tag & peace from Tim holtz die using some lovely paper artsy
Pretty papers


I painted some square mount-board pieces with a lovely Byzantia paint
Called Illuminata 
Then when they were dry I stamped them with memento black ink & some paperartsy stamps
I used a die from one of their Hot picks stamp & die sets for the frames too.


The final bit was die cutting some pretty leaves & flowers to frame the 'Peace'


Wednesday 18 June 2014

Hels Sunday stampers challenge - patterned paper

Hey get me , I am going all challengie !! Mr Holtz new book is to blame , very inspiring & all the lovely team on the CC3C ,. So then I start looking on Hels blog and find more inspiring stuffs !!!
So here I go entering the Sunday stamper challenge.


NEVER ever used mask before last week & I am kind of hooked now !!
So the theme was patterned paper, so I used some pretty Eau de nil capsule range on both tags.
The upper tag is a recycled  from white stuff clothing , love their labels :-)
The mask was a freebee from a magazine & the paste was a lovely glittery
Cosmic shimmer one in sea green.
The stamp was a little cutie I picked up at a show. Bird & flower burst 98864
Dimensions crafts LLC it says on the back. Stamped & embossed in copper


Sunday 15 June 2014

Tim Holtz CC3 challenge , no4 - I'm late !!!

I decided now I have retired from full time work that it's time to use all the lovely stuff I
Have collected over the years & by joining in some challenges I will learn & keep up to date.
Soooo , managed to get my mits on the new Tim Book & can now play with the grown ups.
There are fabulous sponsors and prizes
www.thefunkyjunkie.com
& inpirationemporium.com


COMPENDIUM OF CURIOSITIES III ~ TEXTURE PASTE AND LAYERING STENCILS


This is my entry , first time using a mask - yes really !!! I called it "I'm late " 
In reference to the white rabbit / clocks / crown & hearts as in queen of hearts .


The base is a postcard tag. The layering mask is Tim Holtz stripes.
I used a red texture paste on it.
Not allowed to share technique as you must use Tim's new
Book and follow it , only fair really :-)
The crown is Tim's die & the butterfly grasses & rabbit are
Tim's stamps. 
The rabbit was embossed with distress embossing powder
The clocks stamp is do crafts .
The playing card & ribbon was part of my stash.
The string is coloured with distress ink lavender.
Lots of other lovely distress inks & spritzing went on too.
I was very inky afterwards :-)


Saturday 14 June 2014

Art of craft , demo June

It was a hot day , so happy that customers came to see what I was showing.
So many fabby things to play with, I ran out of time as always !
Munching my eggy sandwiches when no one was looking - I expect they all thought I had flatulence !!
So here are a few new cards made today , simple mostly as I had some newbies
And also the shop wanted some gorjuss girl projects - always love to use those


Thursday 12 June 2014

Sunday , crafting in the sunshine

Wow what a lovely day ?
I got my demo bags out of the car & sorted out the mayhem ....
The idea is to put things back in the way they came out, but whilst chatting , making & thinking on a busy demo day, it all inevitably ends up chucked back in any bag anyhow - hee hee
So, when all sorted out - I then had a little play ready for Art of Craft demo on Saturday 14th June

The following card is created using the stamps given free on the June creativity magazine

I turned the chosen topper over & stuck it down lightly on one edge with magic tape
Then used little stamps all around as shown below.
When you turn the topper the right way up you get the desired effect :-)


Saturday 7 June 2014

More cards from Pickwell Farm

Thrilled to come home with strawberries & the brand new Tim Holtz book no 3.
Not so thrilled with how quiet the craft dept was though :-(
Such a crafters paradise & I love it there.
Anyway Carolyn & Jackie kept me in coffee and chat :-)

These were some made today :-)
These were an idea from Julie Hickey at Craftwork cards
The jar is a small mayo jar. I used a chop stick pierced through
A small scalloped circle that's stuck down around the jar top.
The main side has a topper that was one of three given free in
Creativity magazine (June)
The red 'Dad' is stamped from a stamp gift on May creativity
Magazine .
Papers & sentiment from Heritage press.

                                                                   Back


                                                                     Front


 Below is another box card, if you are not bored with them yet.
The template is on a previous post, Bellissimo box card.
This one uses a mix of midnight blush & oyster blush.
Tartan embossing folder & some orange flowers/butterflies.
The tag stamp was also free on the June creativity mag.


 This time, see below, I made this popular card with Eau de nil capsule papers
For full step by step instructions, see previous post called.
Holiday in Cornwall - Butterfly card

Sorry the photo's not great , but taken at demo.


This is a previous post too, very popular card today. Using Eau de nil &. Oyster blush

Friday 6 June 2014

Demo cards for Pickwell farm

This is an 8x8 card (my favourite size) that I have folded  diagonally 3times on the front.
Each covered with a contrasting paper from the A4 heritage press pack.
The suit topper & sentiment 'top chap, are from the heritage press decoupage set.
I think another time I will put the suit on so it goes above the folded back bit ?


Special wishes just for you is from a clear stamp set from the same range.
The button on the fold back is from a set given away with the June creativity mag.

*****************************************************************************

Below is a lovely unusual easel card, I got the template & idea from a clever lady called
Diane Jennings  - thanks Diane


Here is Diane's template 


This is how it looks folded & with some oyster blush on the sides


Using Eau de nil capsule range & some oyster blush too, I covered the card as shown


Below is the pack of Eau de nil


Here are the lace papers used to make my topper


Pinwheel below works well on this card as a 'Stopper' for the easel


I used the Eau de nil sticky back lace shown below on the sides of the easel
Over the Eau de nil.


These notelets were also used for the topper


This photo is of the free gifts from June Creativity magazine.
I used the circle of flowers & the tag stamp on this card
& the flower on the topper


Below shows the 3D construction on the topper


Again with the pin wheel in place- below